
CROPPING AND RESIZING
CROPPING
Step One:
Open up your image on the gimp program.
Open up your image on the gimp program.

Step Two:
Select the cropping tool.
Select the cropping tool.

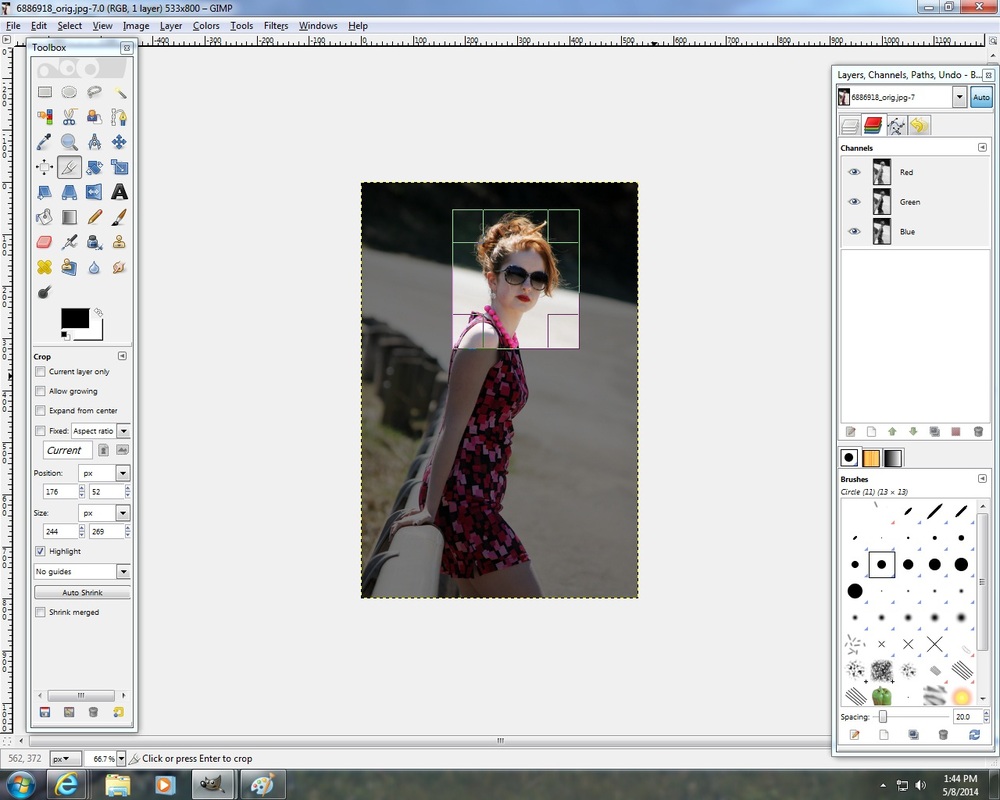
Step Three:
Now that you have selected the cropping tool use it to select the area of the picture you would like to remain.
Now that you have selected the cropping tool use it to select the area of the picture you would like to remain.
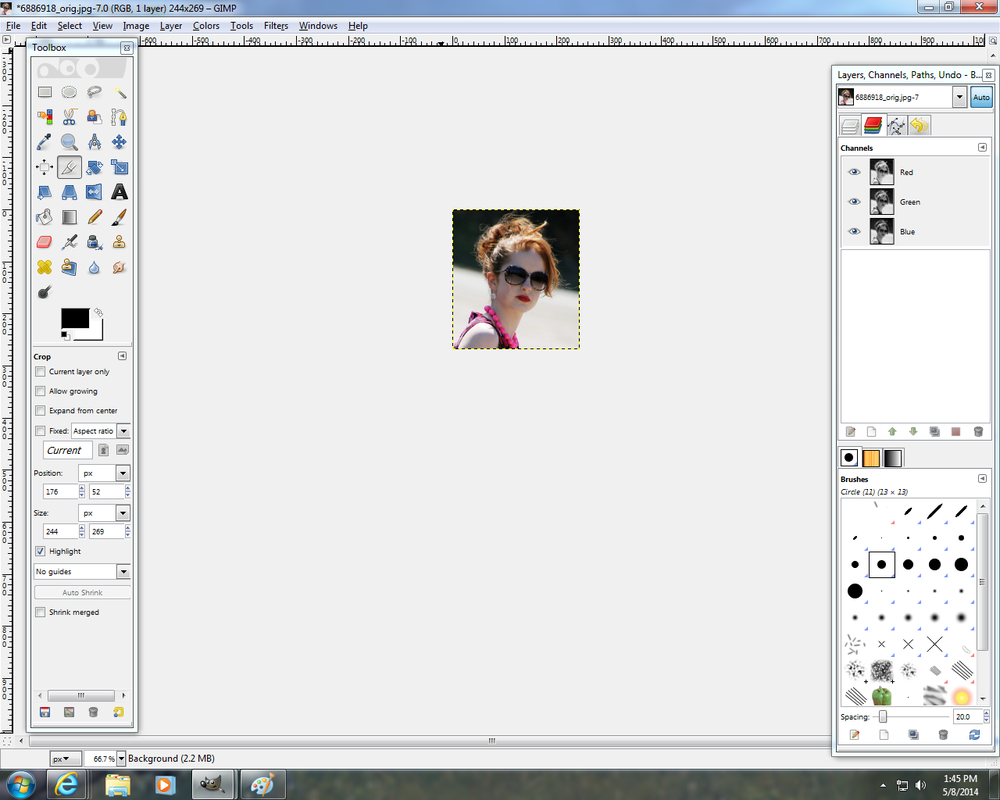
Step Four:
Press enter or 'crop'.
Press enter or 'crop'.
RESIZING
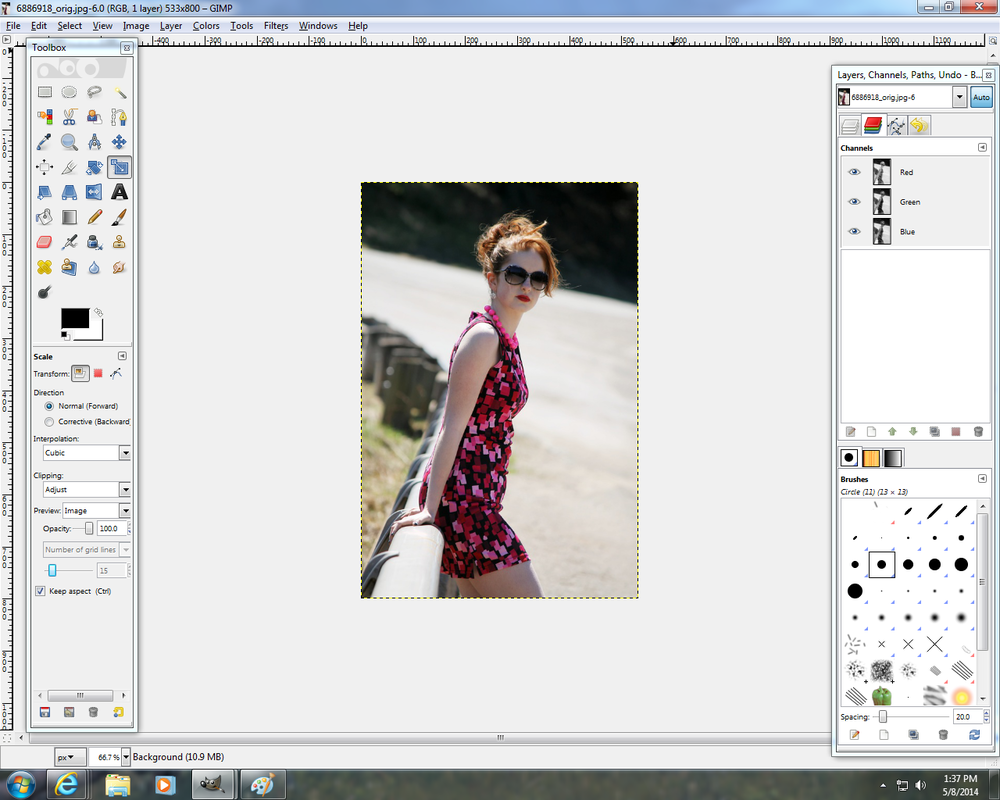
Step One:
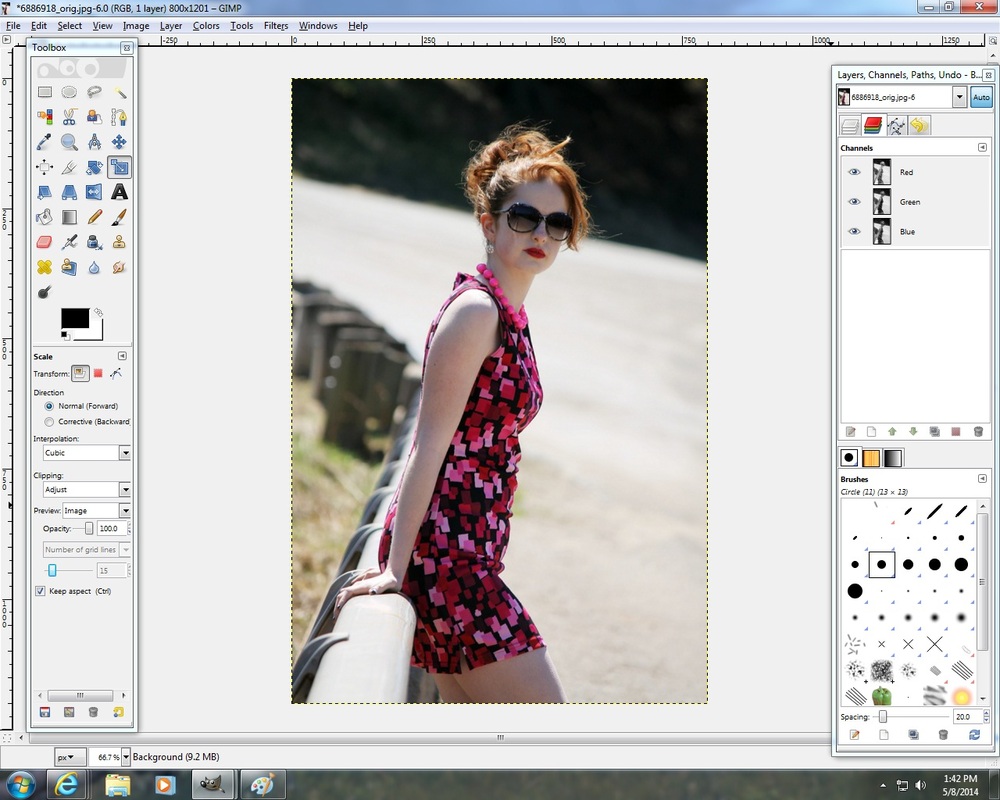
Open your image in Gimp.
Open your image in Gimp.
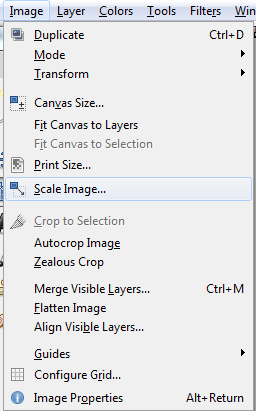
Step Two:
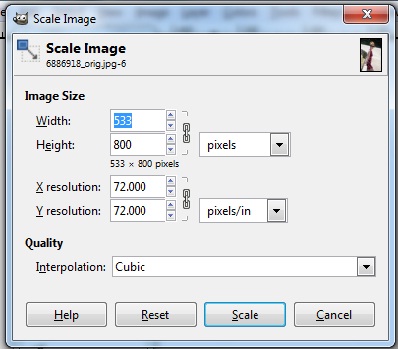
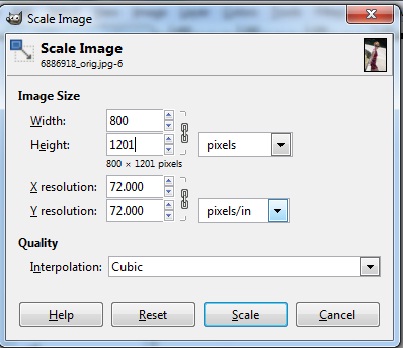
Click on Image>Scale Image. This will bring up a box. This allows you to change either the dimensions of your photo or the resolution. For this tutorial we will only be changing the dimensions. I've decided to make my image 800x1201. You can make your photo as big or small depending on what you want. Many people like to play with the dimensions when ordering prints at places like Shoppers, Superstore etc. These types of photo labs usually have specific sized prints so by making your image the same size as the physical print you can make sure nothing is cropped out that you didn't want, and that there is no white space from your image being smaller than 8x10.
Click on Image>Scale Image. This will bring up a box. This allows you to change either the dimensions of your photo or the resolution. For this tutorial we will only be changing the dimensions. I've decided to make my image 800x1201. You can make your photo as big or small depending on what you want. Many people like to play with the dimensions when ordering prints at places like Shoppers, Superstore etc. These types of photo labs usually have specific sized prints so by making your image the same size as the physical print you can make sure nothing is cropped out that you didn't want, and that there is no white space from your image being smaller than 8x10.
|
|
|
|
Here is video that explains the importance of cropping. This tutorial was done on Photoshop but the reasoning for why we crop is still the same. Enjoy!
